and stops my mind from wandering...
May rain took watering tasks off my mind for a day or two. Then we found a wastebasket in the greenhouse kitchenette was so fortuitously placed, along with a small bonzaied treelet, to catch the rainwater leaking in from a skylight that had slipped down from it's nest. With more rain in the forecast, I can't really let my mind wander too far, so I took the time for "things that weren't important yesterday".
The source of the leak is the far right corner of the sloped glass roof, a fixed unit of glass on the far side of the bank of operable vents.
Rain water running off the copper roof above drops down onto the glass panel, which has slipped down from its original position over the years, exposing a gap that allows water to enter into the interior:
The gap is almost a 1/2" at the right corner.

Repairing this could be accomplished by applying a waterproof adhesive tape over the gap, but that is "tacky" and doesn't really address the problem. This phenomenon of skylight panels slipping down and leaving gaps at their top edge has been an historic problem here, and we have a developed technology for resolving this problem. I have had to fix a great number of these units. They are quite heavy, being triple-glazed laminated glass, and the method of their original installation was to lay them on top of the rafters on a strip of glazing tape (a sticky dual-sided adhesive bead of rubbery goo). Between the glass panels, screwed into the top edge of the rafters, are aluminum channels, into which additional rubber-rimmed aluminum batten strips are screwed, using stainless steel hex head machine screws (visible in the photo above). The glass panels are theoretically held in place by the glazing tape and the downward pressure of the rubber-rimmed aluminum batten strips screwed into the aluminum channels. However...,
time, cycles of heat & cooling, moisture, gravity, insufficiently torqued batten screws,etc. resulted in the "subsidence" of the panels. This subsidence leaves a gap along the top edge of the glass panel. When it rains, it pours.
Getting these panels back into place means removing the batten strips and either pulling the glass panel up and repositioning it, or applying sufficient pressure upwards, in line with their plane of repose, to "slide" them back into place, against the friction of the sticky glazing tape, and then refastening the batten strips, hopefully with enough torque to prevent or retard their re-migration downwards.
The "pull-up" method has been used where the panels are smaller, such as in the operable vent sections.
The "pressure" method has been employed where the panels are larger, or access for removal was limited, or a finer level of control is desired.
The panel just below the current one in question was repositioned several years ago using the pressure method:
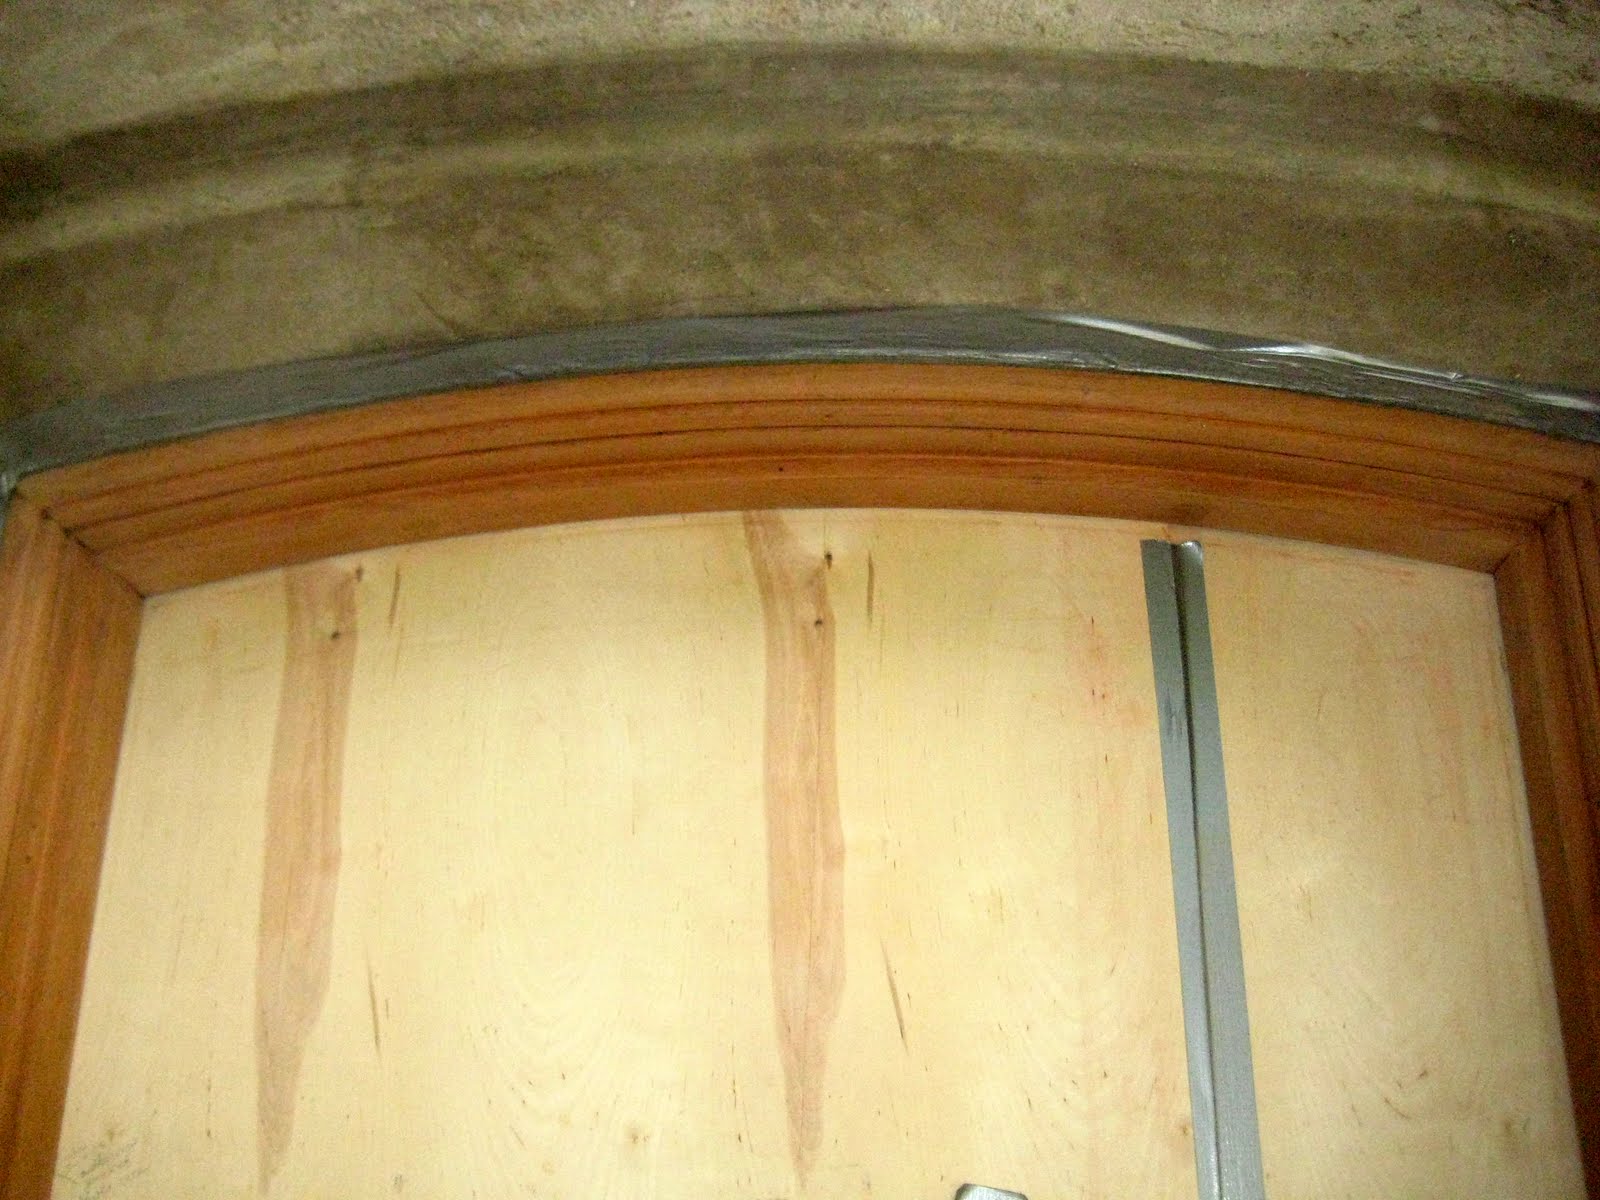
For this panel either method would have worked, but I elected to use the pressure method. A heavy wooden block & steel bar assembly is prepared to attach to the aluminum channels, spanning over the glass panel, after the batten strips are removed:
The slots in the wooden block allow for different widths of glass panel. The steel bars are screwd into the aluminum channels, providing a stationary point against which two bar clamps will be positioned that will also be placed over a block at the bottom of the panel. As the clamps are tightened, the panel is forced upwards into its original position:
Progress is monitored carefully until the unit snugs up into place:
The rubber gasket along the top batten is eased over the encroaching panel, allowing it to seat properly.
Finally, the panel is back in place, the gap is gone, and reassembly proceeds with cleaned and refreshed glass, battens, flashing and torqued batten screws.
And it's starting to rain! Things that weren't important yesterday (actually, the day before yesterday) are done just in the nick of time. Let's see if I can get back to a wandering mind!


